
Bread is one of the great loves of my life, and sourdough is a slight obsession of mine. It has especially intensified over the last several months after I discovered this recipe and method for making sourdough bread. Since then, I’ve been using it for everything I could think of. Our favorites so far have been bread smothered in butter, pizza crusts, and cinnamon rolls. (I’ll share my cinnamon roll recipe later as it has quite a few more ingredients than this base recipe.)
In the past I made and kept a sourdough starter, and made fresh sourdough every time I wanted bread. I had to make sure to feed the starter and not let it die…….and I never made it very long with a sourdough starter. There were too many steps and too much to remember. It wasn’t a sustainable option for me.
I was introduced to this bread recipe and method over at Gwen’s Nest Blog. She has tons of information and nutritional nuts and bolts about this bread and some variations on ingredients. Stop by if you need more info.
There are only four, yes, FOUR ingredients for this bread in its most basic form. It does not require kneading, or feeding, or sweet talking or words of affirmation like starters I’ve had in the past did. Probably the thing that I like the most about this is the fact that it isn’t a starter at all, rather it’s a batch of ready to bake bread dough that you let ferment in your fridge. You are able to pull out only what you need and bake as little or as much as you want throughout the two weeks the bread dough is good to use. (My dough never lasts that long, by the way.) It is super convenient and so yummy.
I keep my sourdough in a glass cookie jar from Walmart. It is the one gallon size and doesn’t take up a lot of space in my fridge. You can also get one from Amazon, but it is pricier.

Now on to the method and recipe before I turn into the long winded recipe blogger I swore I would not become.
__________________________________________________________________________
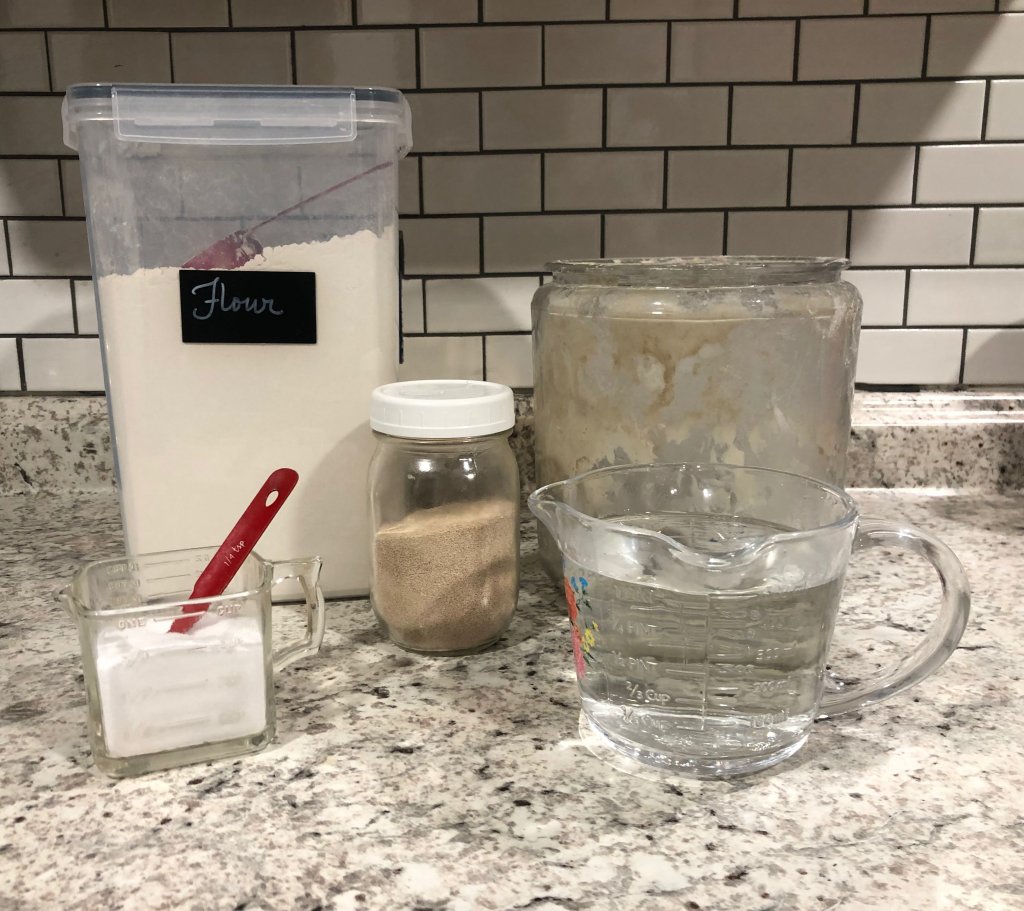
Ingredients:
3 1/2ish cups of warm water
2 teaspoons fast acting yeast (I like to buy it in bulk packaging from Amazon, but I have seen it at Walmart and HEB as well)
6 c. flour (I have been using all purpose, but Gwen’s Nest has pointers for using whole wheat flour)
1 Tablespoon salt
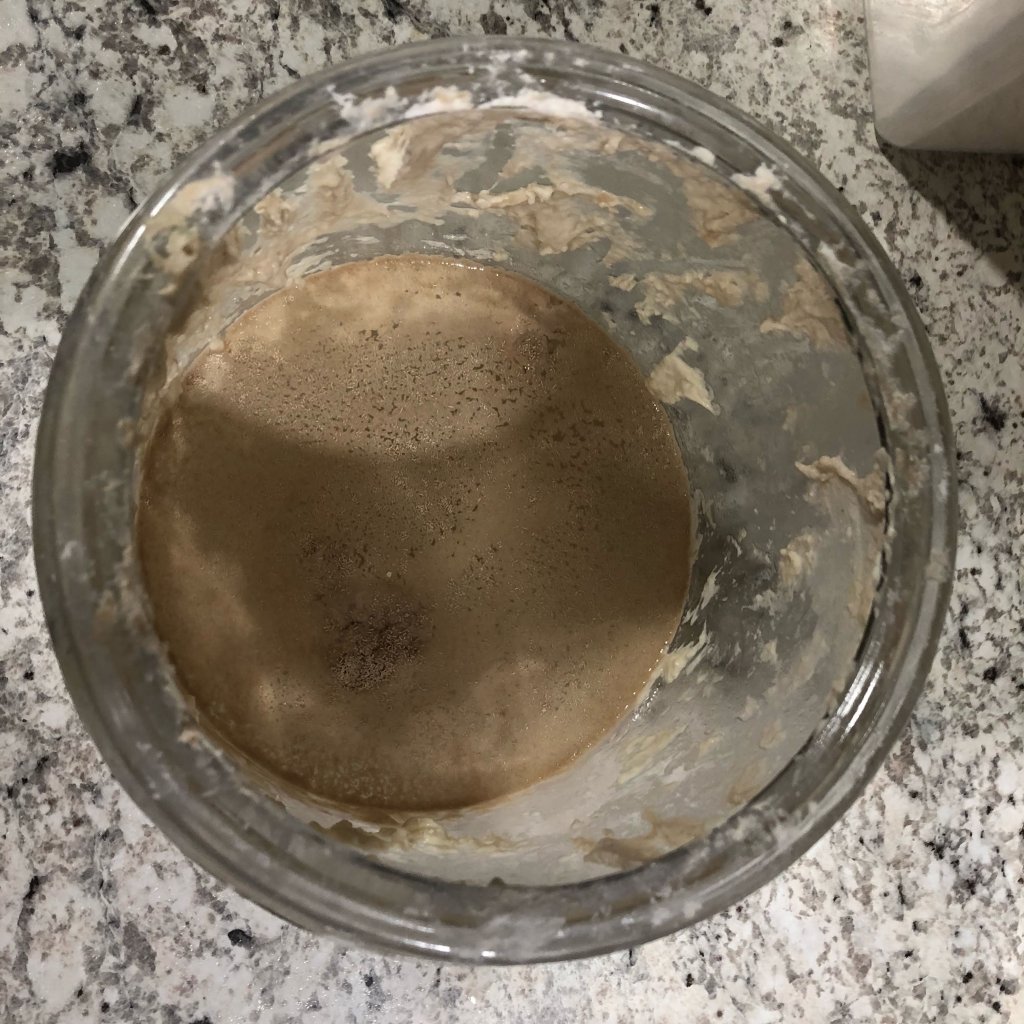
Begin by placing your warm water in your sourdough container. Sprinkle the yeast on top and stir.
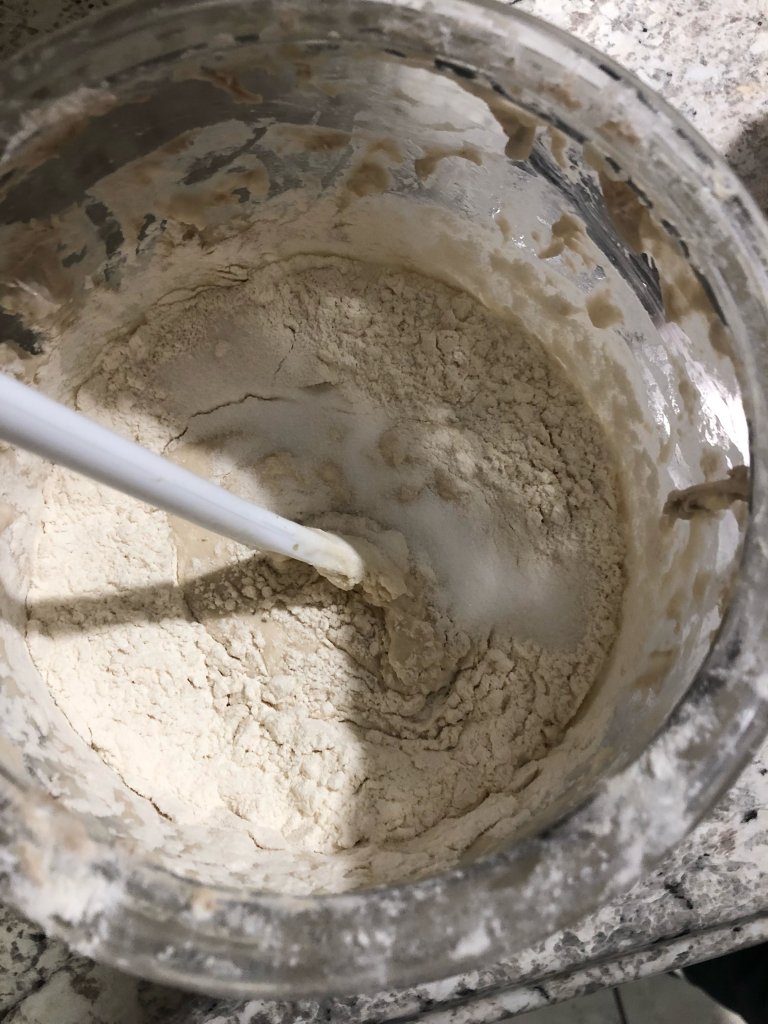
Next, add in 2 cups of flour and stir well. Gradually add 2 more cups of flour (dough will be start to be sticky.)

Add your salt, and continue adding and mixing remaining flour until you have a sticky, somewhat stiff dough with as few dry spots as possible.
Your dough should resemble this once your remaining flour is mixed in:
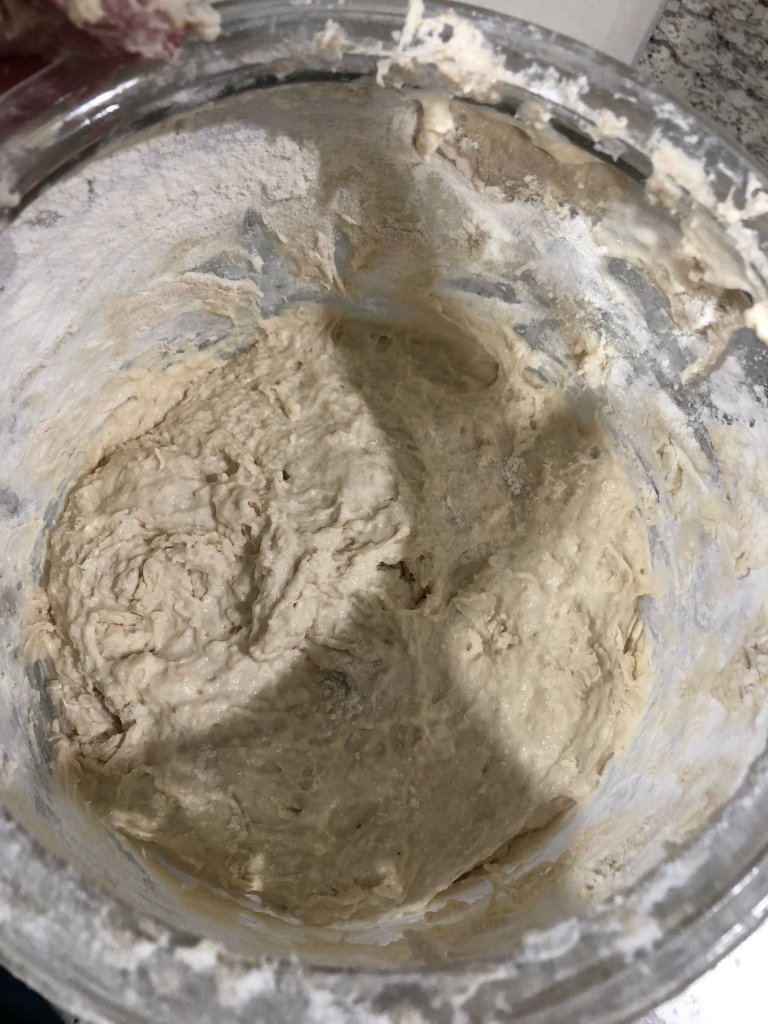
Now let your dough sit out on your counter for 2-3 hours. It will double in size then fall back down. Stick it in your fridge overnight. It is ready to use at this point, but for better flavor I recommend letting it set 72 hours before using.

To Bake Your Sourdough:
Take your sourdough out of the fridge. Scoop out the desired amount of dough and form it however you wish. This makes great rustic loaves and baguettes, and fabulous pizza crusts.
For bread, form your loaves and let rise for 40 minutes or until doubled, and bake at 400F for 30-35 minutes or until loaves sound hollow when tapped.
For handtossed/thin pizza crusts, roll to desired thickness, prick all over with a fork and prebake at 475F till just golden. Cover with desired toppings and return to the oven until cheese is bubbly.
For thick/pan crust pizza, oil a 9×13 baking pan. Pat/roll dough out to approximate pan size and place inside. Pat dough out further, making sure to fill in all of the corners. Let rise til nearly doubled, pat gently with fingertips once more, and cover with toppings of your choice. Bake at 475F for 12-15 minutes.
I will write another post later about using this sourdough recipe for sweet breads like cinnamon rolls and doughnuts.
